NFT Metadata Upload DApp With React & Thirdweb Storage

Ghanaian 🇬🇭 Web and Mobile App developer with experience in Frontend and Backend frameworks.
Passionate Content Creator and Technical Writer documenting my development journey
Loves to code, learn new tools and technology, and share what I learn with the developer community
In this article, we’ll create an app that allows us to upload NFT metadata and get an IPFS link to the NFT.
What is Thirdweb Storage
Thirdweb Storage is a tool/package that makes it simple to store and access files using decentralized file storage systems such as IPFS. It currently only supports IPFS but will support Filecoin and Arweave in the future. More information is available in the thirdweb storage documentation.
When we store an item (file, string, object, etc.) with Thirdweb Storage, we are given a link to that item.
Installation and setup
First, we'll create our React app, which we'll call tw-nft-metadata-storage.
npx create-react-app tw-nft-metadata-storage
Next we install Thirdweb Storage with:
yarn add @thirdweb-dev/storage
If you use npm, you can install it with:
npm install @thirdweb-dev/storage
That's all we'll need to install for this app.
The Code
Let's begin by creating a few variables for the App.js file: name, description, image, link, and loading.
- name - Name of NFT
- description - NFT's description
- image - Link to image source for the NFT
- link - IPFS link to uploaded NFT
- loading - displays when NFT is being uploaded
function App() {
  const [name, setName] = useState("");
  const [description, setDescription] = useState("");
  const [image, setImage] = useState("");
  const [link, setLink] = useState("");
  const [loading, setLoading] = useState(false);

  return <main></main>;
}

export default App;
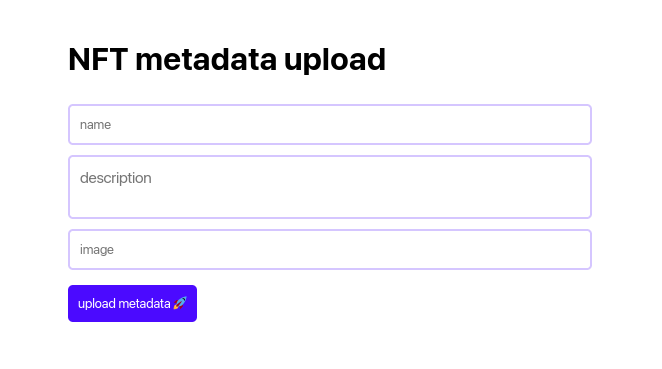
We have a basic layout in the App.js file with a page title, an upload button, and text input fields for the NFT's name, description, and image.
We also have a loader with the text loading... that appears when the app uploads our metadata; once the load is finished, the upload button appears.
function App() {
  const [name, setName] = useState("");
  const [description, setDescription] = useState("");
  const [image, setImage] = useState("");
  const [link, setLink] = useState("");
  const [loading, setLoading] = useState(false);

  return (
    <main>
      <h1>NFT metadata upload</h1>
      <input placeholder="name" onChange={(e) => setName(e.target.value)} />
      <textarea
        placeholder="description"
        onChange={(e) => setDescription(e.target.value)}
      />
      <input placeholder="image" onChange={(e) => setImage(e.target.value)} />

      {loading ? <p>uploading...</p> : <button>upload metadata 🚀</button>}

      <a target="blank" href={link} className="link">
        {link}
      </a>
    </main>
  );
}

export default App;
In the App.css:
* {
  font-family: system-ui, -apple-system, BlinkMacSystemFont, "Segoe UI", Roboto,
    Oxygen, Ubuntu, Cantarell, "Open Sans", "Helvetica Neue", sans-serif;
}

main {
  max-width: 500px;
  margin: 80px auto;
}

input,
button,
textarea {
  border-radius: 5px;
  padding: 10px;
  outline: none;
}

input,
textarea {
  border: 2px solid #4b0aff3b;
  width: 100%;
  margin: 5px 0;
  resize: none;
}

button {
  margin-top: 10px;
  background: #4b0aff;
  border: none;
  color: #fff;
  cursor: pointer;
}

.link {
  display: block;
  margin-top: 30px;
  color: #4b0aff;
}
When you run the React app, you should see something like this in the browser.
The Logic
When you press the upload button, the function uploadMetadata() is called.
<button onClick={uploadMetadata}>upload metadata 🚀</button>
The uploadMetadata() function is an async function that contains the logic for upload and link generation. We'll start by displaying a loading indicator, then create an object with a name, description, and a link to the image of the NFT we want to upload. These values come from what we type into the input fields.
const uploadMetadata = async () => {
  setLoading(true);
  const metadata = {
    name: name,
    description: description,
    image: image,
  };
};
Thirdweb Storage allows for simple file uploading. It is outside this tutorial's scope, so we'll cover it in another article.
Following that, we will work on the upload and link generation logic.
const uploadMetadata = async () => {
  /***/
  const uri = await storage.upload(metadata);
  const url = storage.resolveScheme(uri);

  setLink(url);
  setLoading(false);
};
To upload the metadata, we use the storage.upload() function and pass the metadata object; to get the IPFS link to the NFT, we use the storage.resolveScheme() function and pass the URI returned after the upload is complete.
Finally, we set the NFT URL value to the link variable and hide the loader.
When you return to the browser and enter the values, then click the upload button, you should see a loader for a few seconds, followed by a link to the uploaded NFT, as shown in the gif below.
Conclusion
That’s it for this article.
If you liked this article, consider following me on Twitter and signing up for my weekly newsletter. Also checkout my YouTube for more developer content.


